Introduction
Hey there, piercing enthusiasts! So, you’ve taken the plunge and got that awesome piercing you’ve always wanted. Congrats! But remember, the journey doesn’t end when the needle does. Proper aftercare is crucial to ensure your new piercing heals beautifully and stays healthy. In this comprehensive guide, we’ll walk you through the steps of piercing aftercare, from the moment you leave the piercing studio to the day you flaunt your stunning jewelry without a care in the world.
Let’s dive in!
Piercing Aftercare: A Step-by-Step Guide
Step 1: Listen to Your Piercer
Your professional piercer is your best friend in this journey. They’ve got the expertise and will provide you with specific instructions for your piercing type. Pay close attention and follow their guidance to the letter. They’ll likely cover the basics like cleaning, changing jewelry, and what to avoid. Many piercers will also encourage you to reach out if you have any questions, take advantage of this offer!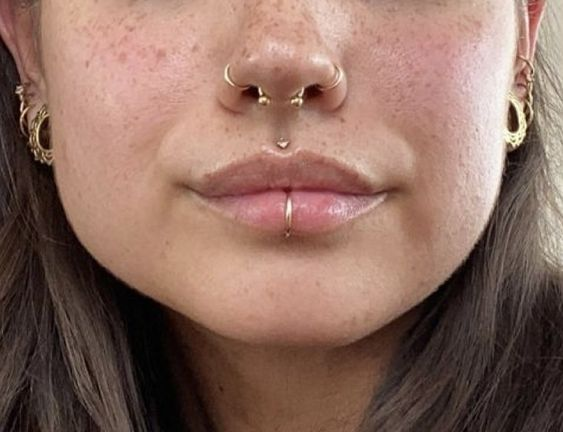
Step 2: Hand Hygiene
Before you touch your new piercing, always wash your hands with mild, fragrance-free soap and warm water. Ensure they’re squeaky clean to prevent any potential infection. Fresh piercings are like any other open wound that would be prone to infection, keeping it and your hands clean is key to avoiding issues healing.
Step 3: Cleaning Your Piercing
3.1 Saline Solution:
A saline solution is your new BFF when it comes to piercing aftercare. It’s gentle, effective, and works for almost all piercing types. Create your saline solution by mixing 1/4 teaspoon of non-iodized sea salt with 8 ounces of warm distilled water. Using a clean cup, gently soak your piercing for a few minutes. Repeat this process twice a day. Many piercing studios will also sell saline solution for piercings in spray bottles which can be used similarly. “Wet a gauze pad with saline solution and hold it on the piercing site for 10-15 minutes. I recommend opting for a sterile saline solution (like what is used for contact lenses),” says dermatologist Hadley King.
3.2 Avoid Harsh Products:
Stay far away from alcohol, hydrogen peroxide, and over-the-counter antiseptics. They can be too harsh and slow down the healing process. Scented soaps and makeup products can also cause issues so it’s best to keep them away from the piercing while it is healing. Remember, gentle is the name of the game!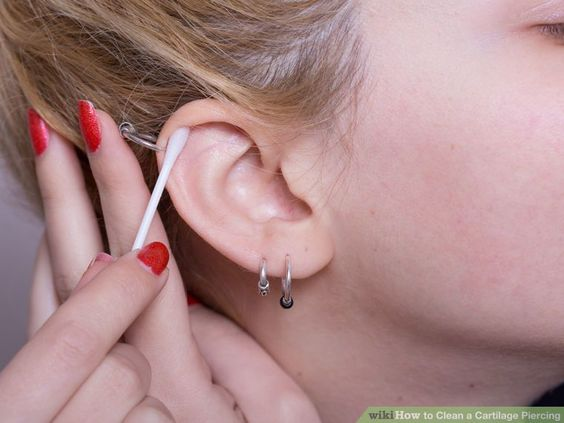
Step 4: Keep It Dry
After you’ve cleaned your piercing, ensure it’s completely dry. You can either use a clean paper towel or simply let it air dry. Moisture can trap bacteria and slow down healing. After showers pat your piercings dry with a clean towel or paper towel and avoid twisting or pressing on the piercing too much while drying.
Step 5: Be Mindful of Clothing and Bedding
Avoid tight or irritating clothing around your piercing. Opt for loose, breathable fabrics. No one wants to get a fresh piercing caught on their clothes, especially within the first few days it’s important to be mindful of your piercing when you dress. Also, change your bedding regularly to prevent any buildup of bacteria. After all, your bed is your sanctuary!
Step 6: Say No to Pools and Hot Tubs
Swimming in pools or hot tubs is a big no-no until your piercing is fully healed. Chlorine and other pool chemicals can irritate and infect your piercing. Much like tattoos you should wait at least two weeks before swimming or entering hot tubs.
Step 7: Be Cautious with Makeup and Skincare Products
If you have a facial piercing, be extra careful with makeup and skincare products. Avoid any creams or lotions near your piercing, and be sure to remove makeup gently to prevent any accidental tugging or irritation.
Step 8: Leave it alone!
Resist the urge to touch, twist, or rotate your jewelry, especially if your hands aren’t perfectly clean. Excess movement can cause discomfort, delays in healing, and potential complications.”It’s incredibly important to avoid manipulating the area and the jewelry which can cause microtears in the skin and prevent adequate healing,” says dermatologist Rachel Nazarian.
Step 9: Healing Times
Remember that healing times vary depending on the piercing type. Ears generally take 6-8 weeks, while cartilage piercings may take up to 12 weeks. Navel piercings may require 6-12 months for full healing. Your piercer should tell you how long you need to wait before changing your jewelry or taking it out, make sure you listen to their advice even if your piercing looks healed sooner. Be patient!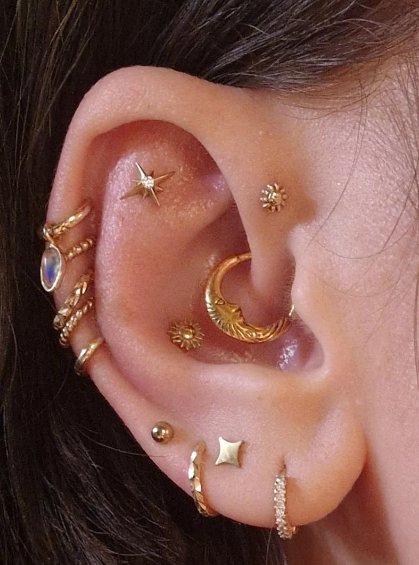
Step 10: Jewelry Changes
Don’t rush into changing your jewelry. Wait until your piercing is fully healed and choose a high quality material to save yourself from possible reactions to cheaper materials. Surgical stainless steel and surgical titanium are both good choices to avoid reactions. Your piercer will guide you on the right time for a swap, ensuring a smooth transition.
Conclusion:
And there you have it, our comprehensive guide to piercing aftercare! The road to flaunting your piercing with pride might have a few bumps along the way, but with the right care, you’ll soon be rocking that jewelry like a pro. Remember, patience and consistency are key. Keep your piercer’s advice close to heart, stay diligent with your aftercare routine, and let your body work its healing magic.
Whether it’s a cute new earlobe piercing or an edgy septum piercing, the principles of aftercare remain the same: cleanliness, gentleness, and patience. With time, you’ll have a fabulous addition to your unique style that will turn heads and spark conversations.
Now, go ahead and embrace your new piercing journey with confidence, knowing you’ve got all the knowledge you need to keep it in pristine condition. Keep that saline solution handy, say no to pool parties for a while, and be kind to your body. It’s the ultimate recipe for successful piercing aftercare.
Happy healing, and may your new piercing be a reflection of your personality, style, and individuality!